Saving Screenshots from a TFT Display
8th August 2020
This article describes a utility that will save a screenshot from the Adafruit PyGamer display. Suppose you've displayed an image on the TFT display:
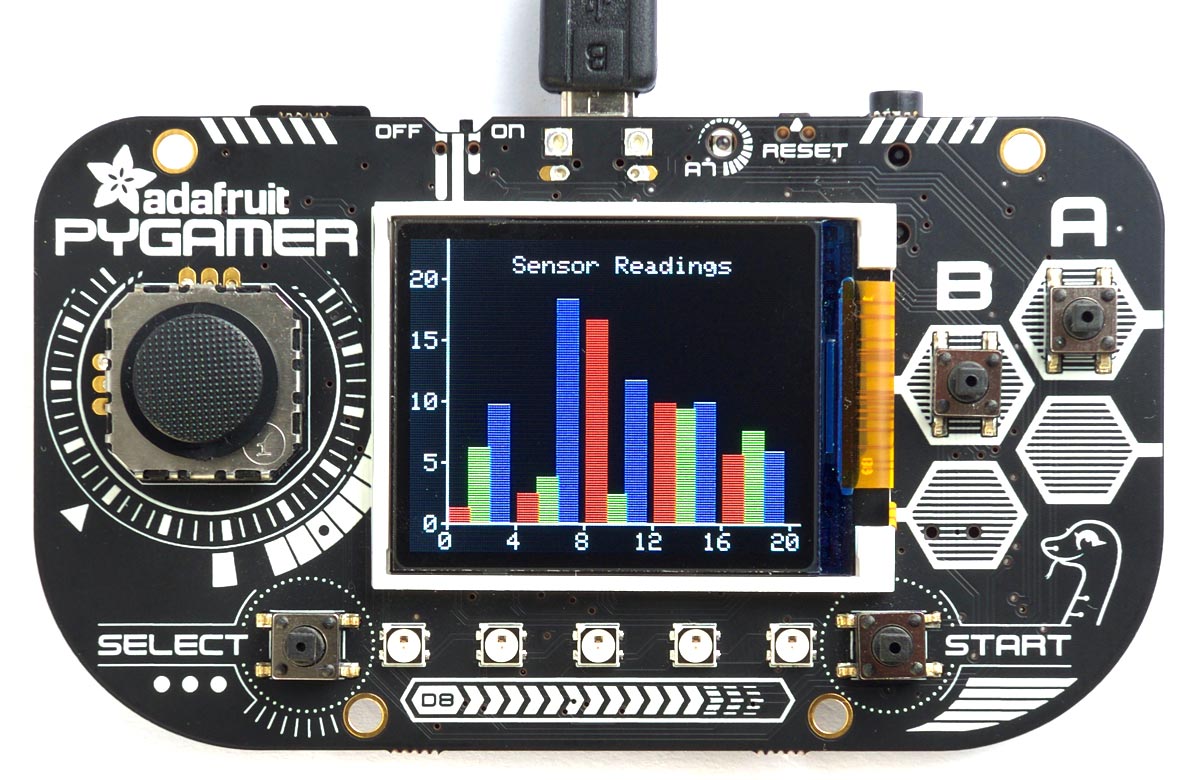
Plot demo running on an Adafruit PyGamer.
This program will save a screenshot as a BMP-format file to the SD card, which you can then use to display the image in a document or on a web page:
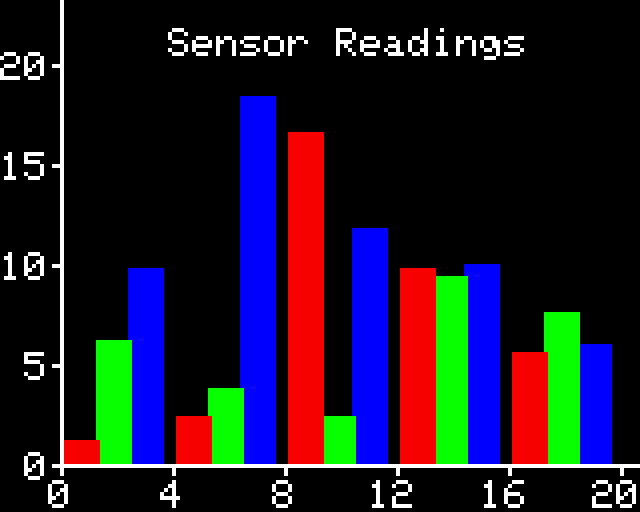
Screenshot captured from the plot demo using the routine described in this article.
It will also work with the Adafruit PyBadge with an external SD card interface, and many other TFT displays with minor changes.
Introduction
Suppose you want to show images from an Adafruit PyGamer TFT display in a blog, or on a website. One way is to take a photograph of the screen, but getting a good quality image is quite difficult. This routine lets you create a perfect screenshot of the TFT display, and save it to an SD card so you can read it onto a computer and incorporate it into a document or web page.
This routine uses the Windows BMP file format as it is relatively simple, and is compatible with most image editors [1]. It doesn't support image compression which makes the routine simpler, but even so the images are only 41 Kbytes. Alternatively you could use an image editor to convert the images to GIF, PNG, or JPEG.
Note that for the example above I scaled the image up by a factor of 4 to display it larger without it getting smoothed by the web browser. The original is 160x128, the same as the screen resolution.
The routine could be modified to work with most displays, provided they support reading a pixel from the display.
The program
The program uses the getPixel() routine I described in my earlier projects Reading the PyBadge Display and Simple Sprite Routines for the PyGamer/PyBadge. I've included it again in this program for convenience.
Saving a BMP file
The main bmpSave() routine opens a file on the SD card, and then reads the display a pixel at a time, and writes the BMP-format data to the file:
void bmpSave () {
  uint32_t filesize, offset;
  uint16_t width = tft.width(), height = tft.height();
  char filename[11] = "image1.bmp";
  SD.begin();
  while (SD.exists(filename)) { filename[5]++; }
  bmpFile = SD.open(filename, FILE_WRITE);
  // On error hang up
  if (!bmpFile) for (;;);
  digitalWrite(LED_BUILTIN, HIGH);
  //
  // File header: 14 bytes
  bmpFile.write('B'); bmpFile.write('M');
  writeFour(14+40+12+width*height*2); // File size in bytes
  writeFour(0);
  writeFour(14+40+12);                // Offset to image data from start
  //
  // Image header: 40 bytes
  writeFour(40);                      // Header size
  writeFour(width);                   // Image width
  writeFour(height);                  // Image height
  writeTwo(1);                        // Planes
  writeTwo(16);                       // Bits per pixel
  writeFour(0);                       // Compression (none)
  writeFour(0);                       // Image size (0 for uncompressed)
  writeFour(0);                       // Preferred X resolution (ignore)
  writeFour(0);                       // Preferred Y resolution (ignore)
  writeFour(0);                       // Colour map entries (ignore)
  writeFour(0);                       // Important colours (ignore)
  //
  // Colour masks: 12 bytes
  writeFour(0b0000011111100000);      // Green
  writeFour(0b1111100000000000);      // Red
  writeFour(0b0000000000011111);      // Blue
  //
  // Image data: width * height * 2 bytes
  for (int y=height-1; y>=0; y--) {
    for (int x=0; x<width; x++) {
      writeTwo(tft.getPixel(x,y));    // Each row must be a multiple of four bytes
    }
  }
  // Close the file
  bmpFile.close();
  digitalWrite(LED_BUILTIN, LOW);
}
It saves the image to a file called image1.bmp. If this already exists on the SD card it uses the name image2.bmp, and so on, making it convenient to save a series of images.
The built-in LED is used to show the progress of the save. It's initially off, and is lit while the image data is being written to the card. If there's a problem with the card, or no card is present, the LED won't light up at all.
The rest of the routine handles the writing of the headers and image data in BMP format.
Plot demo
I've included a simple plot demo to demonstrate the screenshot program; it's the same demo I used in my Tiny TFT Graphics Library, rewritten to use the Adafruit GFX library.
Here's the screenshot routine together with the plot demo: TFT Screenshot Program
- ^ Simplified Windows BMP Bitmap File Format Specification on Hackaday.
blog comments powered by Disqus