Using an ATmega328 without a crystal
3rd November 2017
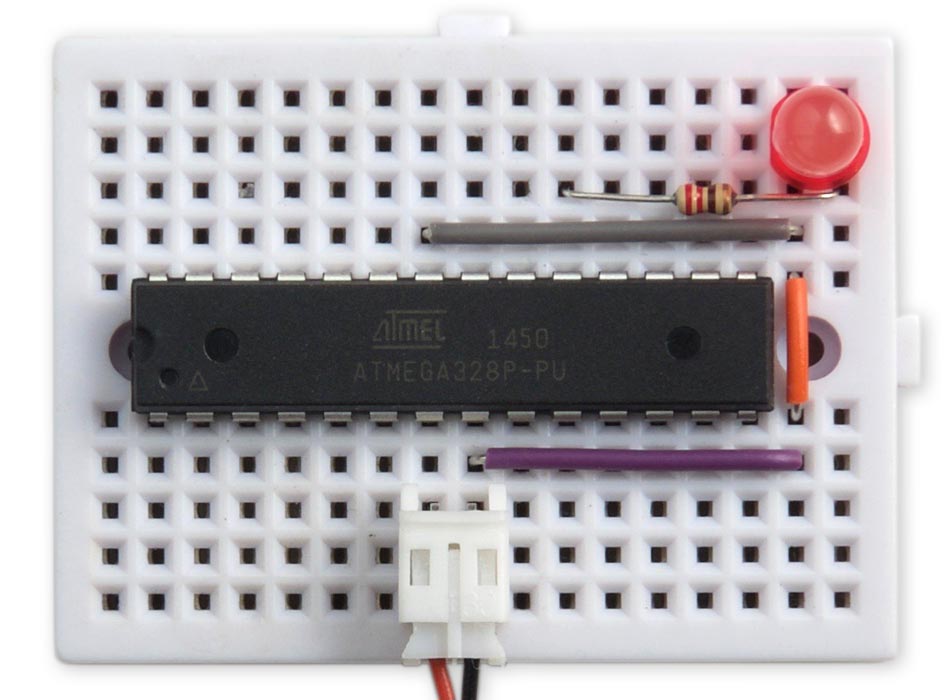
For simple applications based on an ATmega328 you don't need an Arduino Uno; you can just build your application around a chip on a prototyping board. And unless you need accurate timing, or are going to use the serial interface (which requires accurate timing), you don't need an external crystal and capacitors, because the ATmega328 has a built-in internal clock:
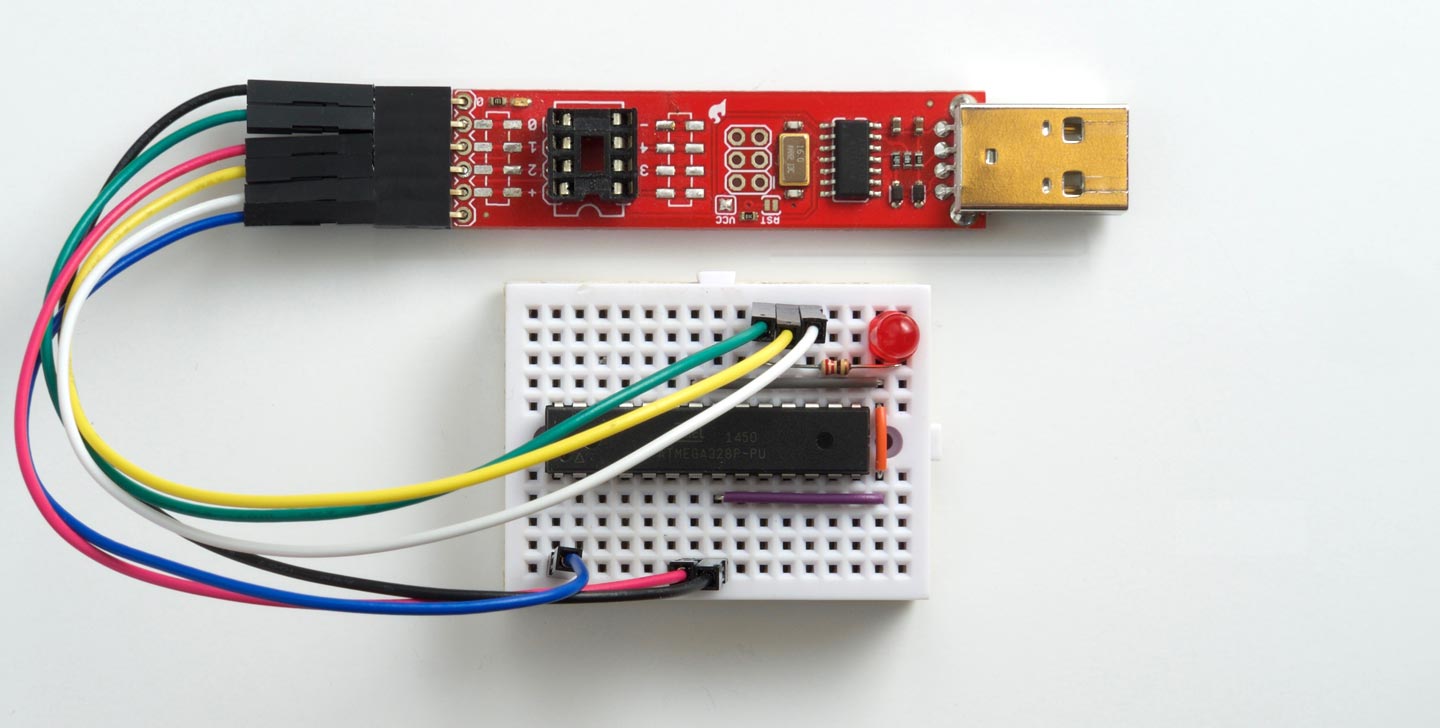
This short article describes how to program an ATmega328 on a breadboard using the Arduino IDE. Unfortunately by default the Arduino IDE doesn't include a Boards option for an ATmega328 without an external crystal, but it's easy to add one. You can then program the chip using In-System Programming, using a programmer such as the Sparkfun Tiny AVR Programmer [1]:
There are already several articles on the web explaining how to do this, but I couldn't find one that provided a boards.txt file that works with the latest Arduino IDE, version 1.8.X, so I created one and thought it would be useful to make it available.
Adding support for an ATmega328 without an external crystal
The following procedure works with the Arduino IDE versions 1.8 and upwards.
- Download the ATmegaBreadboard hardware configuration from my repository on GitHub ATmegaBreadboard.
- Copy it to the hardware folder in your Arduino folder in your Documents folder. If there isn't already a hardware folder there, create one first.
- Restart the Arduino IDE.
This should add an ATmegaBreadboard heading to the Board menu.
Now, when you want to program an ATmega328 or ATmega168 choose Board from the Tools menu, and select the appropriate option under the ATmegaBreadboard heading.
Then choose the options you want from the subsequent menus; for example B.O.D. Disabled, ATmega328P, and 8 MHz (internal). Choose the correct programmer from the Programmer option on the Tools menu; for example, USBtinyISP if you're using the Sparkfun Tiny AVR Programmer shown above. Choose Burn Bootloader to set the fuses appropriately; then choose Upload to upload the program.
Note that if you use Burn Bootloader to program the ATmega168/328 to use a crystal, you'll have to have the crystal present if you want to reprogram the fuses back to using the internal clock.
- ^ Tiny AVR Programmer on Sparkfun.
blog comments powered by Disqus